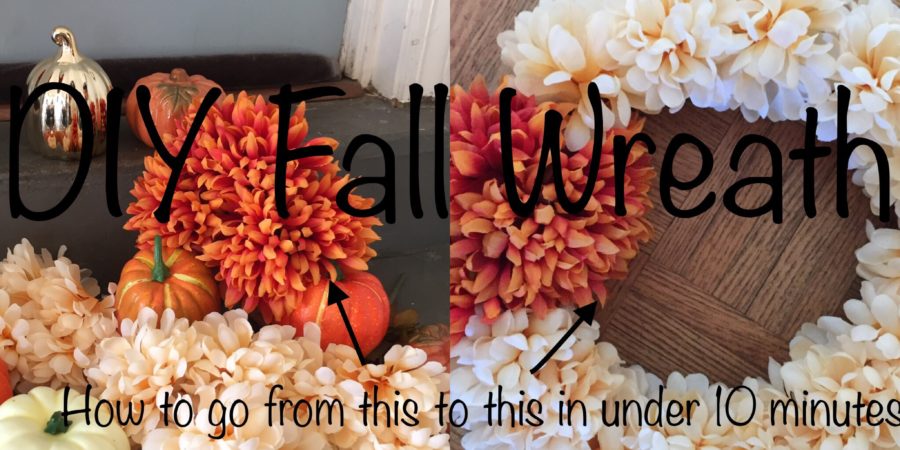
Are you hesitating to pull out your fall decor? Maybe you just aren’t ready for pumpkins yet, or maybe you think if you do, summer is over. *tear Well, I may have a solution that will perk your mood (as if pumpkin spice ANYTHING won’t cure that!). I almost didn’t want to post this because it seemed too easy. I thought y’all would think I was on vacation and chose the most simple fall project EVER! That’s truly the reason I am writing this post though. This is SOO easy! The best part? It was all UNDER ten dollars, and I finished it in about 10 minutes. What?!? In this post, I will show you how to make a DIY fall wreath in less than 10 minutes and under 10 dollars. Wow! Now THAT’S a post worth writing about! P.S. I got all of my materials from Goodwill and the Dollar Tree!!
Materials:
Grapevine Wreath (I scored my LEGIT grapevine wreath from Goodwill for $3)
Faux Floral Stems of any type (I used Chrysanthemums)
Hot Glue Gun *Optional (I did NOT use glue to fasten my stems. I thought they were secure enough without it.)
Directions:
- Remove all previous florals from grapevine wreath (if any). The one I found was TRULY a grapevine wreath. Look at that glorious number!

- Take one flower and cut it to desired length. I cut mine about 4 inches long at first and trimmed them after all were placed.

- Push the flower into the wreath. If the wreath is well made, it should hold the stem. You will want to look for a wreath that has integrity BEFORE you purchase it. This will make a big difference. If you end up with one that is a little looser, then use that glue! Make sure it is where you want it before you glue though!
- Continue with as many flowers as desired. You can make this as full or simple as you like! I used only one white flower around the edge, and used a few orange flowers to make it look fuller in that spot only.

- Hang on your front door, a mirror (like I did), a window, or in an old frame. The possibilities are endless. I put mine in our entryway with some other fall decor, but it may not stay there long!
 BONUS PROJECT!!
Below are all of my materials from my Dollar Tree Purchase. You see the little pumpkins above in gold and heirloom white? That is the AFTER picture. The BEFORE picture is below. Orange as orange can be! Hmm. Not my style, but exactly my price, for $1 a piece! I spray painted them with Krylon gold (my NEW favorite spray paint!) and here they are. I did get lucky and score one sweet gold pumpkin, but I couldn’t find any more. Keep scrolling to see how I quickly transformed these lovelies, also in about 10 minutes.

These little pumpkins are styrofoam, so they are very light. Spray paint just blows them right away. So, to keep them from doing that, I used push pins and cardboard to hold them. I pushed the pin from underneath and pushed the pumpkin into the pin from the top.

Here is that after shot again. They are so cute! I may put them everywhere!
There you have it! Two DIY fall decor pieces that you can do in ten minutes or less, for 10 dollars or less!
Happy fall, y’all!!
