I have had a LOT of new found energy this summer. Therefore, I have been extremely busy tackling projects that have been on my to-do list for a long time (we’ve lived in our home for 4 years, so this particular item has been on my list for…4 years). I have been saving our formal dining room for last since we don’t use it very often, so I thought it was time to give it a much needed face lift. As with any whole room project, I started with the walls. Why? Painting is the least expensive and simplest way to face lift a room. (Almost) Instant gratification? Check! For this project, I chose a color that would also look great in our playroom. I thought I needed 5 gallons of paint since the playroom was pretty much two rooms in one. However, I did NOT realize the integrity of this paint, so I only ended up using about 2/3 gallon. That left A LOT to use on other projects (to come later). It’s a good thing I LOOOOVE the paint color I chose! In addition to wall color, I also chose to build a chunky floating shelf and top it off with a plate rack, stained in the same color (also to match my new table coming soon—another DIY project). I have seen DOZENS of DIY posts on this particular shelf, so I was expecting it to be super easy. The problem was I needed a shelf that was about 6 feet long. I couldn’t find the measurements for that particular size in any one post, so I kind of had to figure it out as I went. However, the original inspiration for this build came from Shanty2Chic and you can find that link here. Also, the facing of the actual shelf was a bit tricky to me, but I will show a few pictures to help you along the way. Here’s how to build a simple floating shelf:
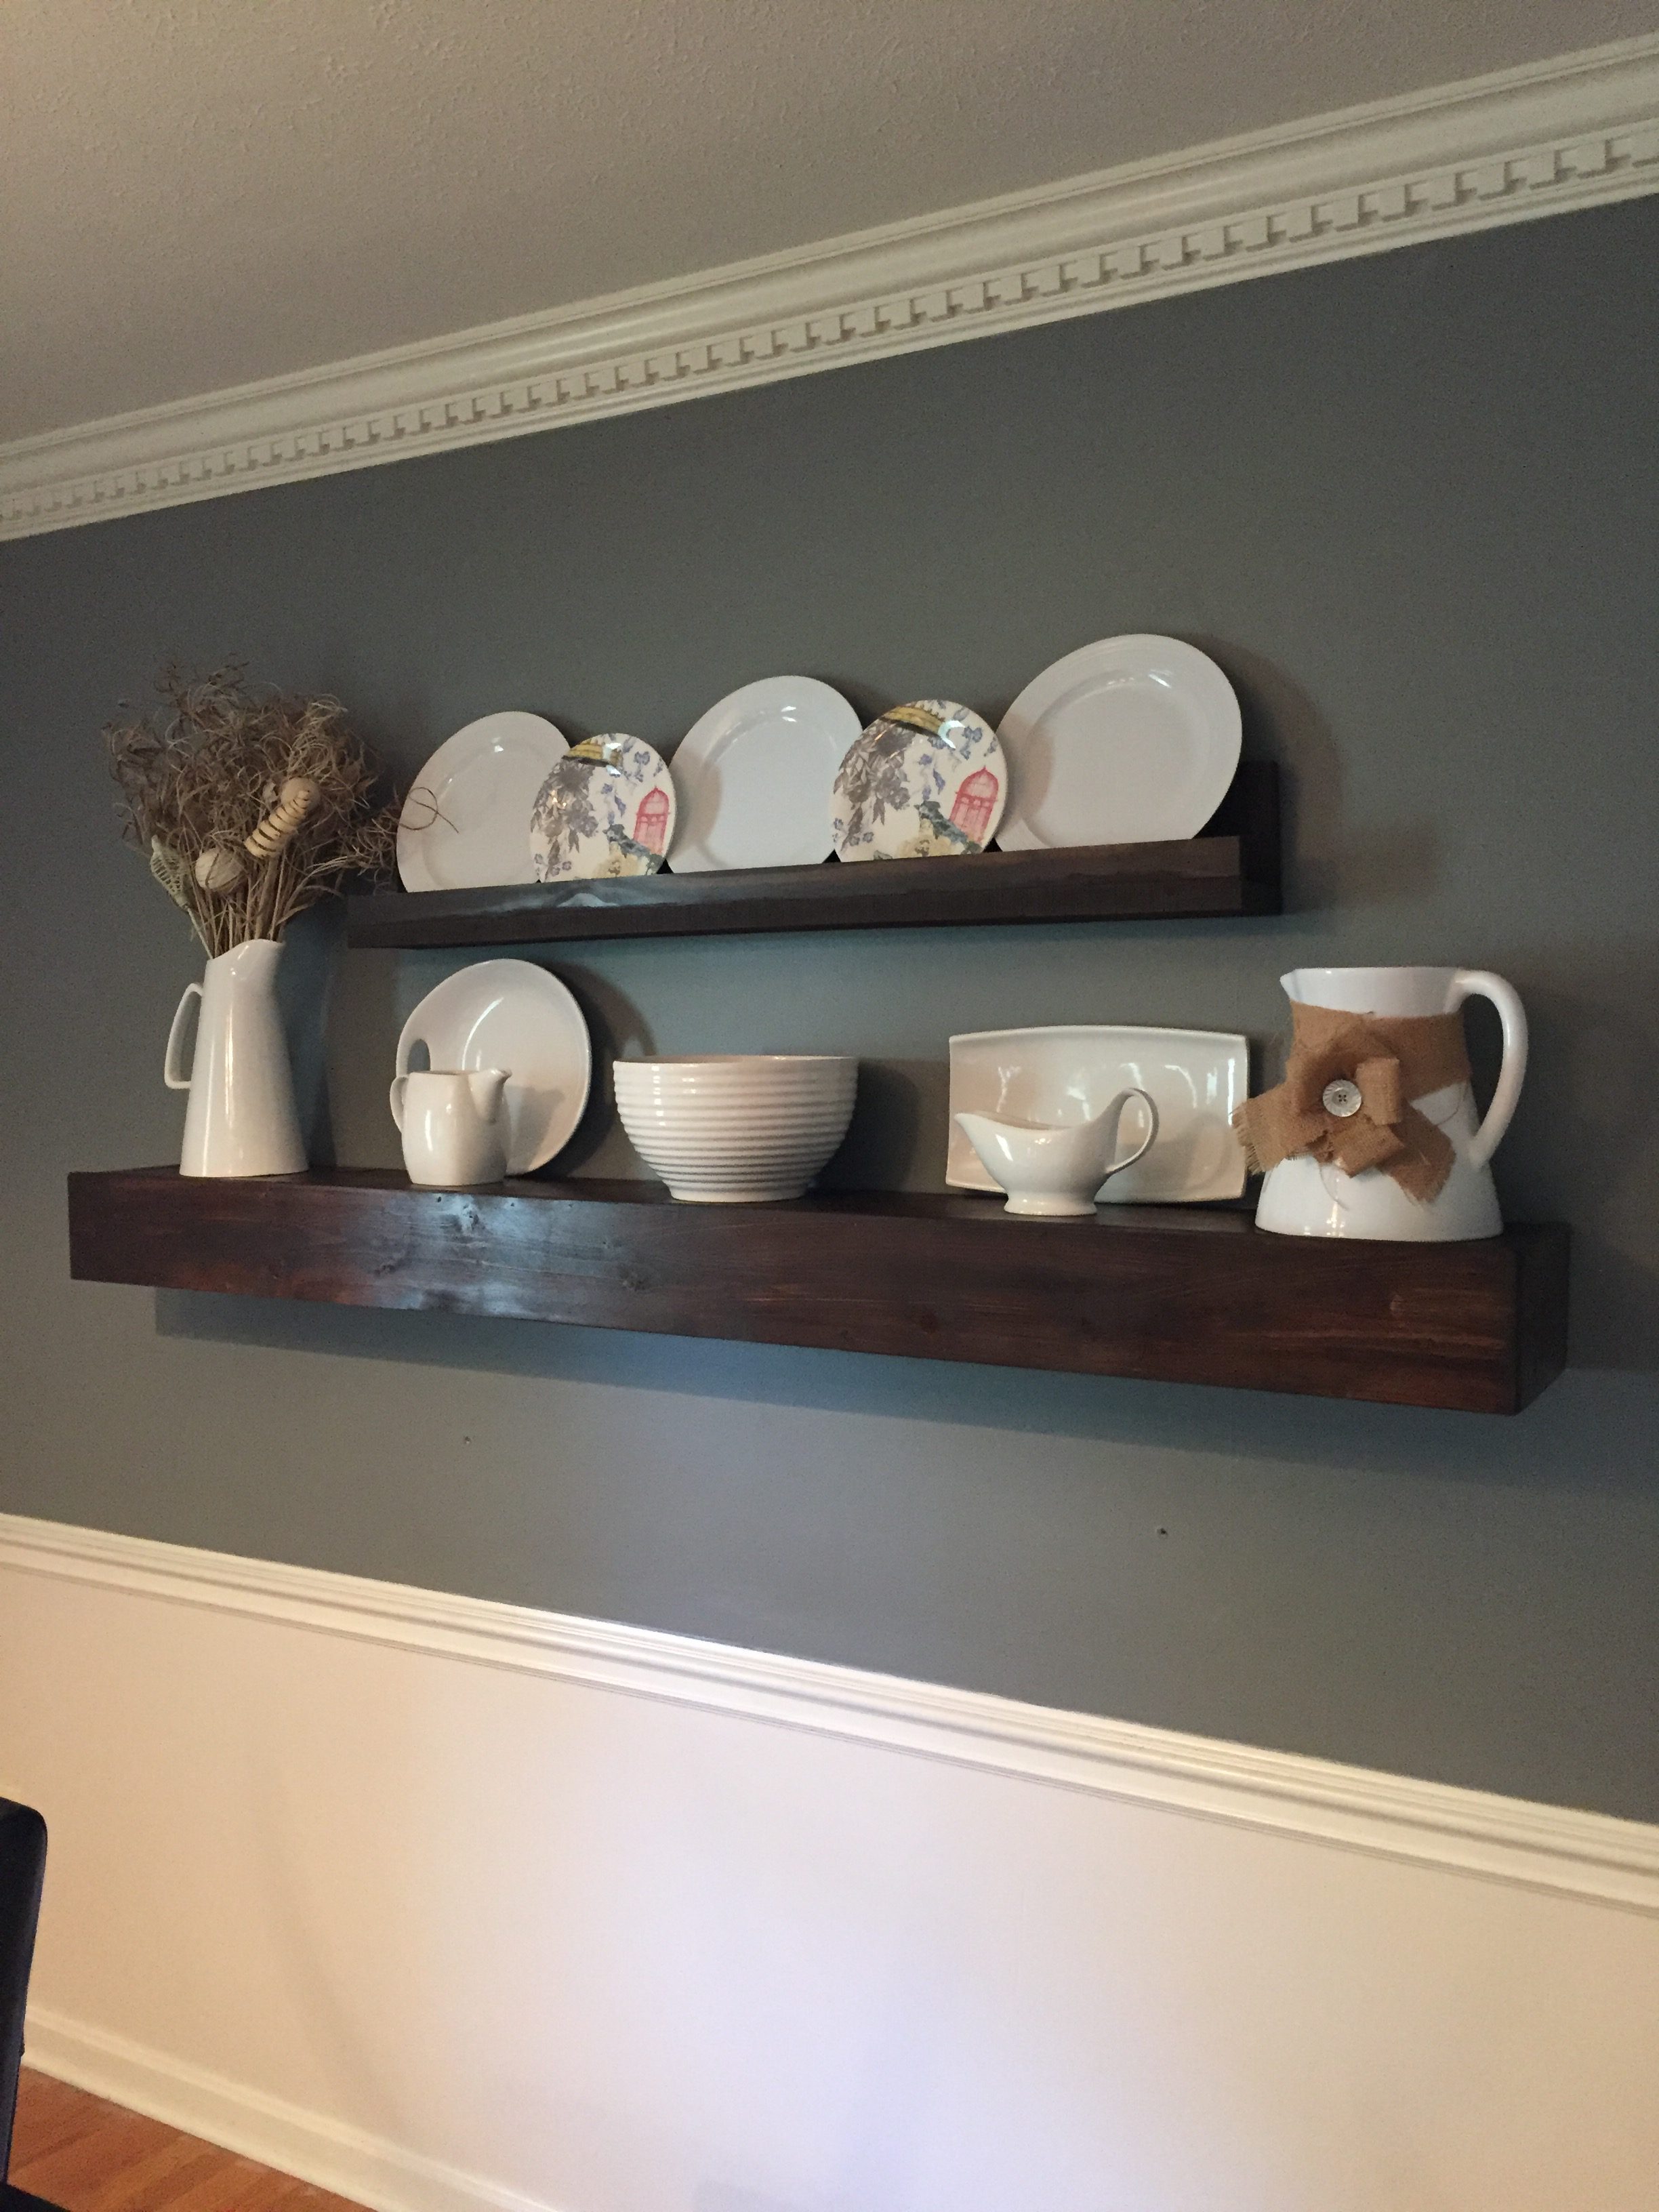
Finished Product: My shelf is approximately 72″ long and 9.5″ deep
Materials/Cut List:
(2) 2x4s for the brace (you will need one almost as long as the shelf and more for the pieces that will support the shelf. You will need to calculate this beforehand. I bought (2) 2x4s at 8 feet long. I cut my back support piece at 70″, and I cut (5) 7 1/2″ pieces for the brace supports.
(2) 1×10 boards: the thickness of the board should depend on what you want to display. I wanted it thick enough to display serving dishes, so I bought 1″x 10″ boards. Again, buy enough for the top and bottom of the shelf. I bought (2) at 8 feet long and cut them both to 70 1/4″ long (top and bottom).
(2) 1×6 boards for the front and side facings. I went with (2) 1″x 6″ @ 6′ boards. However, I made my cuts too short for the face board, and I ended up having to go back to the hardware store for another board. NOT my best moment! Measure twice, cut once. Rookie mistake. My final cuts were 1 @ 71 3/4″ (face) and 2 @ 9 1/4″ (sides).
Pocket hole screws and Kreg Jig-I only used these to build the brace. I’m still learning how to use this, but when I do use it correctly, I an NOT disappointed! I only used 10 pocket hole screws, 2 for each brace support.
Wood Glue-always use before nailing or screwing wood together.
Mitre saw-This is the only saw I used for my cuts. I have used mine for SOO many projects, and I LOVE it!!
1 1/2″ Finishing nails-I used these to attach my shelf pieces together. Truth time: I TOTALLY had a nailer and air compressor STILL IN THE BOX in my garage. But unknown power tools scare me, and I didn’t want to take the time to learn how to use it, but I didn’t want to blow my face off either! SO, I did it the old fashioned way and used a hammer and nails. Next time, I will use the nailer **I have since learned how to use those tools and it was SO SIMPLE!! Next time, Jenny. Next time.
Stain and Clear poly-I used Rustoleum stain in Dark Walnut. I used the spray polycrylic to set the stain, with a few extra coats on top so my dishes didn’t scrape off the stain, and vise versa.
On to the show:
Here is the before picture of the dining room: 
And from the other angle:

Ok so now you see why I NEEDED to update this room! P.S. Pardon the mess. This is real life. We used this table for a catch all. Plus, I was finishing up moving all of my teacher belongings home, and this is where things ended up that I didn’t want in the basement.
I first removed all of the decor pieces and wall fixtures. I chose not to replace the shelf above the window (VERY early DIY project), and the lighting is still there for now. I filled holes, sanded, painted and then I was ready to begin building
Instructions:
Step 1: Build the brace. Assemble your materials and cut the wood for the brace. First drill your pocket holes then glue the 7 1/2″ brace supports on the 70″ 2×4 back support. Once they are dry, reinforce with the pocket hole screws.
Step 2: Drill the brace into the wall. Using a stud finder, find at least two studs to drill the brace into. Since this shelf was so long, I found 3 studs to drill into. I predrilled the holes in the brace to keep from splitting the wood, stripping the screws, and get a nice, snug fit.
Step 3: Assemble the shelf. Cut the top, bottom, and sides from the boards. This shelf actually slides onto the brace, so it will look like an open box. First, glue the side, top, and bottom pieces together. I did this in steps. First I glued the sides to the top. Then I added the bottom. I don’t have the clamps to support doing all of it at once. If you have clamps, I highly recommend using them to keep them from sliding. Once these are dry, glue the front face on. Then, reinforce them by nailing them by hand or with a nail gun. See the picture below to show how I assembled these. This was the trickiest part to me (aside from making the face board cut), so hopefully this picture will help.
Step 4: Stain the outside of the shelf by following the directions on the can, and finish with a couple of coats of polyurethane or polycrilic.
Here are some pictures of the progress:


And there you have it!
Estimated Time: approximately 2 hours in labor (plus dry time, and All. The. Hand. Nailing)
Estimated Cost: approximately $30 for the lumber (I already had the stain, glue, nails and screws)
I LOVE the finished product. I have way more dishes to display/store, so a sideboard is needed, but that’s a project (or purchase) for another time.
One final before/after shot (sorry for the different angles)

SOOO much better! Next up for this dining redo: farmhouse table/bench build and lighting. Stay tuned!!
What simple builds have you done lately?