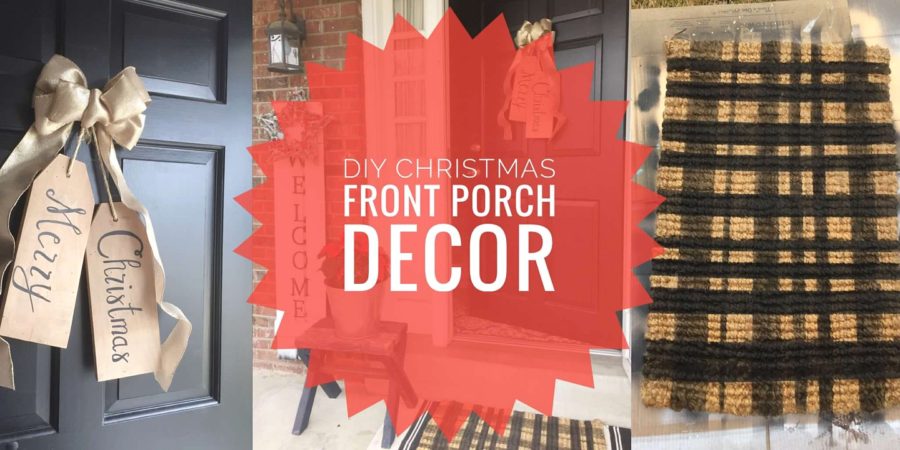
Thanksgiving is over, and I have waited long enough to put up our Christmas decor! We hosted Thanksgiving this year, so I let our Thanksgiving decor stay out until the Saturday after. By then, I know some of you already had a house full of Christmas decor, but not me. Nope. I had to sit on my hands for this one. All of the beautiful photos infiltrating social media made me crazy (like good crazy)!! BUT, since we were hosting, I didn’t want to rush the holiday by putting up Christmas early. Once it was over, however, (as in the very next day) we had our tree out of the basement along with the 4 or so bins that hold most of our decor (I know, 4 bins is all!!). In light of my No Spend November challenge, I took the time this week to focus my Christmas decorating on our front porch since I had some ideas floating around in my head. I must admit, since we don’t use our front door very often (or even see the front of the house for that matter) it is easily overlooked and usually forgotten when it comes to decorating, especially in the colder months. I was NOT going to let that happen this year. I had too many DIY ideas to put into practice for this one. In this post, I will show you 3 DIY Christmas decor projects that are simple and cheap (if not FREE!). From wooden door tags to bows and a plaid doormat, surely you can find some inspiration to bring to your own front door this Christmas season!
Project #1: Wooden Door Tags
You might remember from this post that I made door tags for Thanksgiving that read “Give Thanks”. Well, I just flipped those jokers over and wrote “Merry Christmas”, and called it a day. I wrote these first with pencil and finished with a pen marker, but if you don’t trust your steadiness, you can always use the method I used for my wooden block decor in this post.

Project #2: DIY Bow
Well, those sweet tags couldn’t just hang there by themselves now, could they? Certainly not! So I replaced the small, orange, burlap bow from my Thanksgiving tags with a big gold one made from wired ribbon that I purchased at a sale last year. **Side note: end of the year sales are THE BEST deals you will get on Christmas decor, IF (and that’s a big IF) you can hold out!! I used this tutorial from Pinterest to create the best looking bow and hung it above the tags. (I didn’t have pipe cleaner, so I just used a bit of the wired ribbon to tie it together.)

Project #3: Plaid Doormat
This looks difficult, but it is soooo easy. I was thankful that the weather was unusually nice this week which allowed me to spray paint for this project. I had the rug and the paint, so this came with a price tag of $0! Gotta love that! I actually used our original doormat for this project. It is a plain, jute doormat that I stenciled our last initial on the front side. So, I just flipped it over and let the games begin (I seem to be doing a lot of flipping for these projects)!
First, I taped off the entire rug going in one direction using two different size painters tape. I varied the space in between the tape as well. Make sure to press the tape down, as it will stick to the fibers in the rug, which is what you want to prevent bleeding.

Then, I painted the exposed doormat with a few coats for a really dark finish.


I removed the painters tape immediately and taped off in the other direction, using the same technique as the first. Then, I lightly sprayed the exposed doormat. This created a lighter color, which added great dimension to the “plaid look”.


I removed the tape immediately again and voila! Plaid (and very professional looking) doormat for free and under 15 minutes!

Add a couple potted poinsettias in galvanized buckets and there you have our DIY Christmas Front Porch! I have already found reasons to go around to the front of the house, just to admire what can easily be done for a HUGE impact.


There’s our pooch, Nala. I gave her some love. Think I need to give those little benches some love, too? Yep! I think I have more of that black spray paint left over…
If you liked this post, perhaps you would enjoy these as well!
No Spend November Challenge Part 4
How to Age Galvanized Metal (the natural way!)
This holiday, give the gift of Beautycounter
